

8BitCADE ORIGINAL
Make
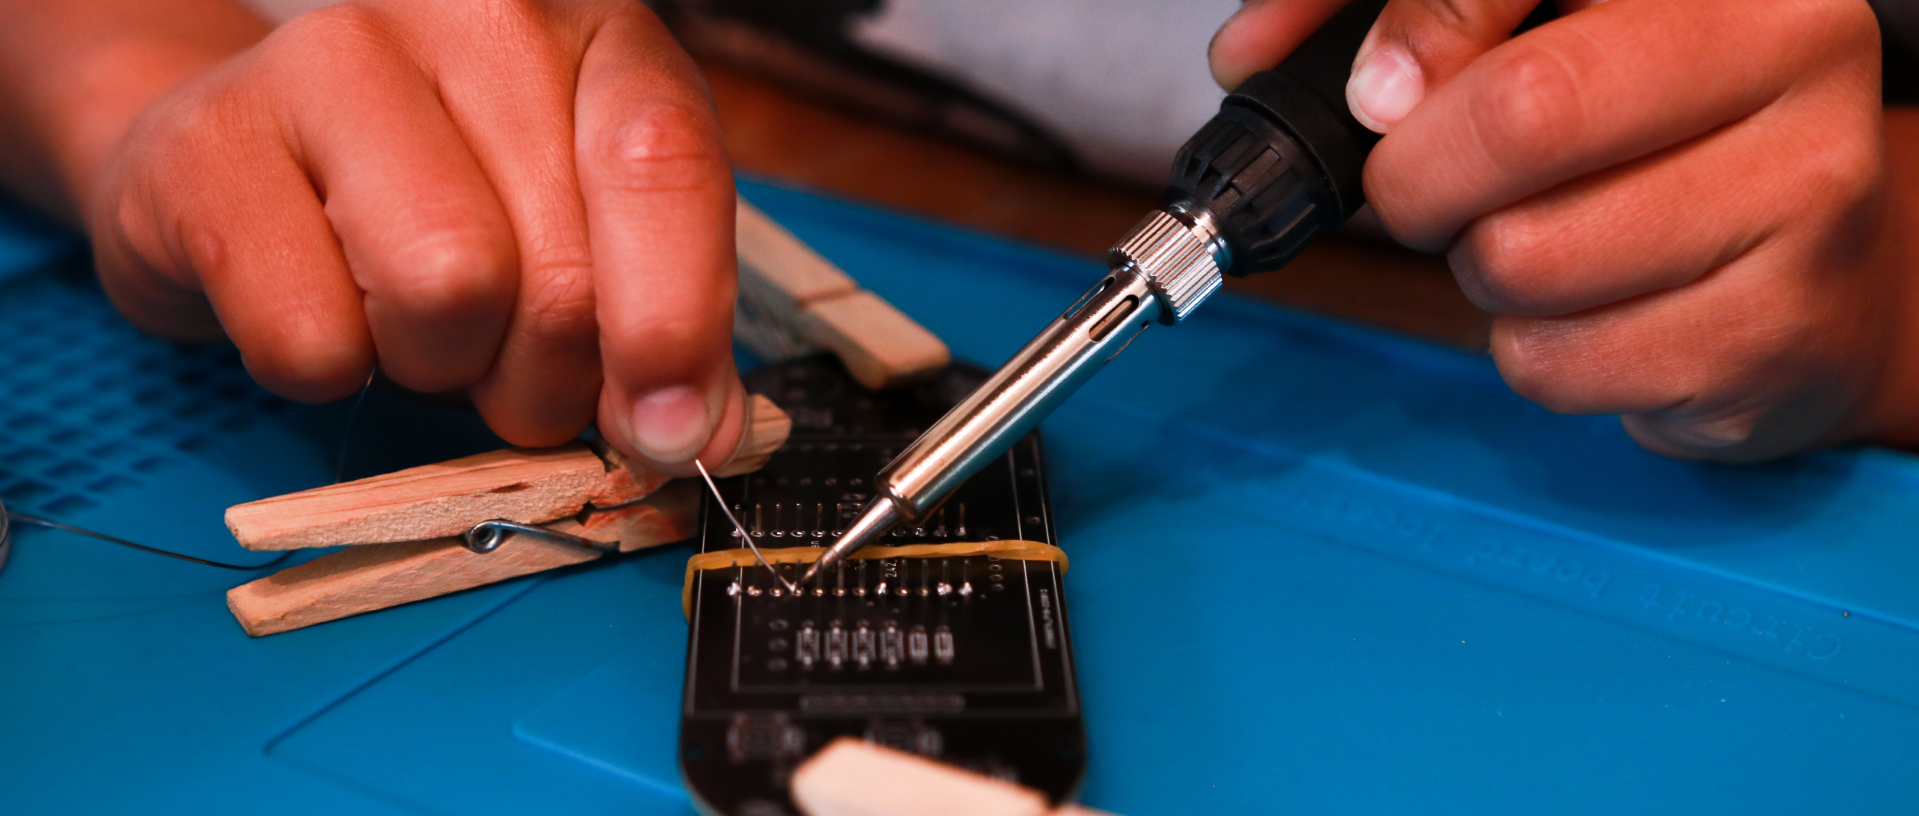
Make the ORIGINAL
Start building your very own game console with our step by step tutorial! Get your project kit and toolkit ready - It’s time to show them what being a MAKER is all about!
-
Make
8BitCADE ORIGINAL
Visual Parts Guide
The Make Tutorial has everything you need to build and learn, but if you would like to print out a visual parts guide to help you along the way, you can find it through the link below! -
Make
8BitCADE ORIGINAL
PDF Make Guide (For Visual Learners)
Our online make guide features a step-by-step, but you can access the PDF version here! This also includes the guide to set up your console!
Learn
-
Installing Arduino
8BitCADE ORIGINAL
Before You Start
Before you start you need to have Arduino installed. Arduino is the IDE that we will use to talk to our gaming console. Arduino is made up of two popular languages – C and C++. What the Arduino IDE is, is a platform for us to write and upload code in. IDE stands for integrated development environment. The below video will walk you through how to install the Arduino IDE and set it up for your 8BitCADE console.
-
Introduction to the
8BitCADE ORIGINAL
Programming in Arduino
This tutorial should be the first tutorial that you take. It will teach you everything from programming basics in Arduino to setting up and programming your 8BitCADE Original Console.
Follow this tutorial before beginning any of the other 8BitCADE Original Tutorials!
-
Set Up the
8BitCADE ORIGINAL
Library and Board Setup
This tutorial is crucial to set up your 8BitCADE Original since it utilizes the ARDUBOY library. This tutorial guides you through the setup, including both the board setup and the library setup
-
Learn
8BitCADE ORIGINAL
Code Programs and Games!
It’s time to get started with the programming! Make sure you have completed the above tutorials in the LEARN section before continuing.
Check out our tutorials that range from simple programs like a calculator to complex games!
GAME
-
Game
8BitCADE ORIGINAL
Before You Start
Before we start, it’s crucial that we understand what we are getting into. The below video explains the difference between both .hex files and .ino files. Topics such as why we use them, what they are and how we can use them to program our 8BitCADE.
Each game is available in HEX and .ino format. HEX files are ready for you to upload and start gaming. The .ino format allows you to explore the inner workings of the game and see how your favorite games are created!
-
Game
8BitCADE ORIGINAL
Arduino Load
If you want to install your games using the .INO file format, you will need to follow the video below. This video will walk you through how to install Arduino, download games, and load using the Arduino IDE
Below is the installer and the video.
-
Game
8BitCADE ORIGINAL
HEX Load
If you want to install your games using the HEX file format, you will need to follow the below video. This video will walk you through how to install the loader and use it!
Below is the installer and the video
EXTRA RESOURCES
-
Code
8BitCADE ORIGINAL
Battery Check
The code below should be uploaded to your 8BitCADE console while you charge it. It will show you a live voltage reading of your battery with and indicator, so you know when the device is fully charged. The device will beep when fully charged to ensure you do not overcharge the battery. -
Code
8BitCADE ORIGINAL
Hardware Test
The code below should be uploaded to your 8BitCADE console while you charge it. It will show you a live voltage reading of your battery with and indicator, so you know when the device is fully charged. The device will beep when fully charged to ensure you do not overcharge the battery. -
Hardware
8BitCADE ORIGINAL
System Control Mode
Pressing and holding the B button when powering on will enter System Control mode. The LED will light blue to indicate that you are in system control mode. You must continue to hold the B button to remain in this mode. This mode is used to access features such as audio on/off and flashlight mode. The below file explains how to get these features.